
4 Ways to Improve your Jumping

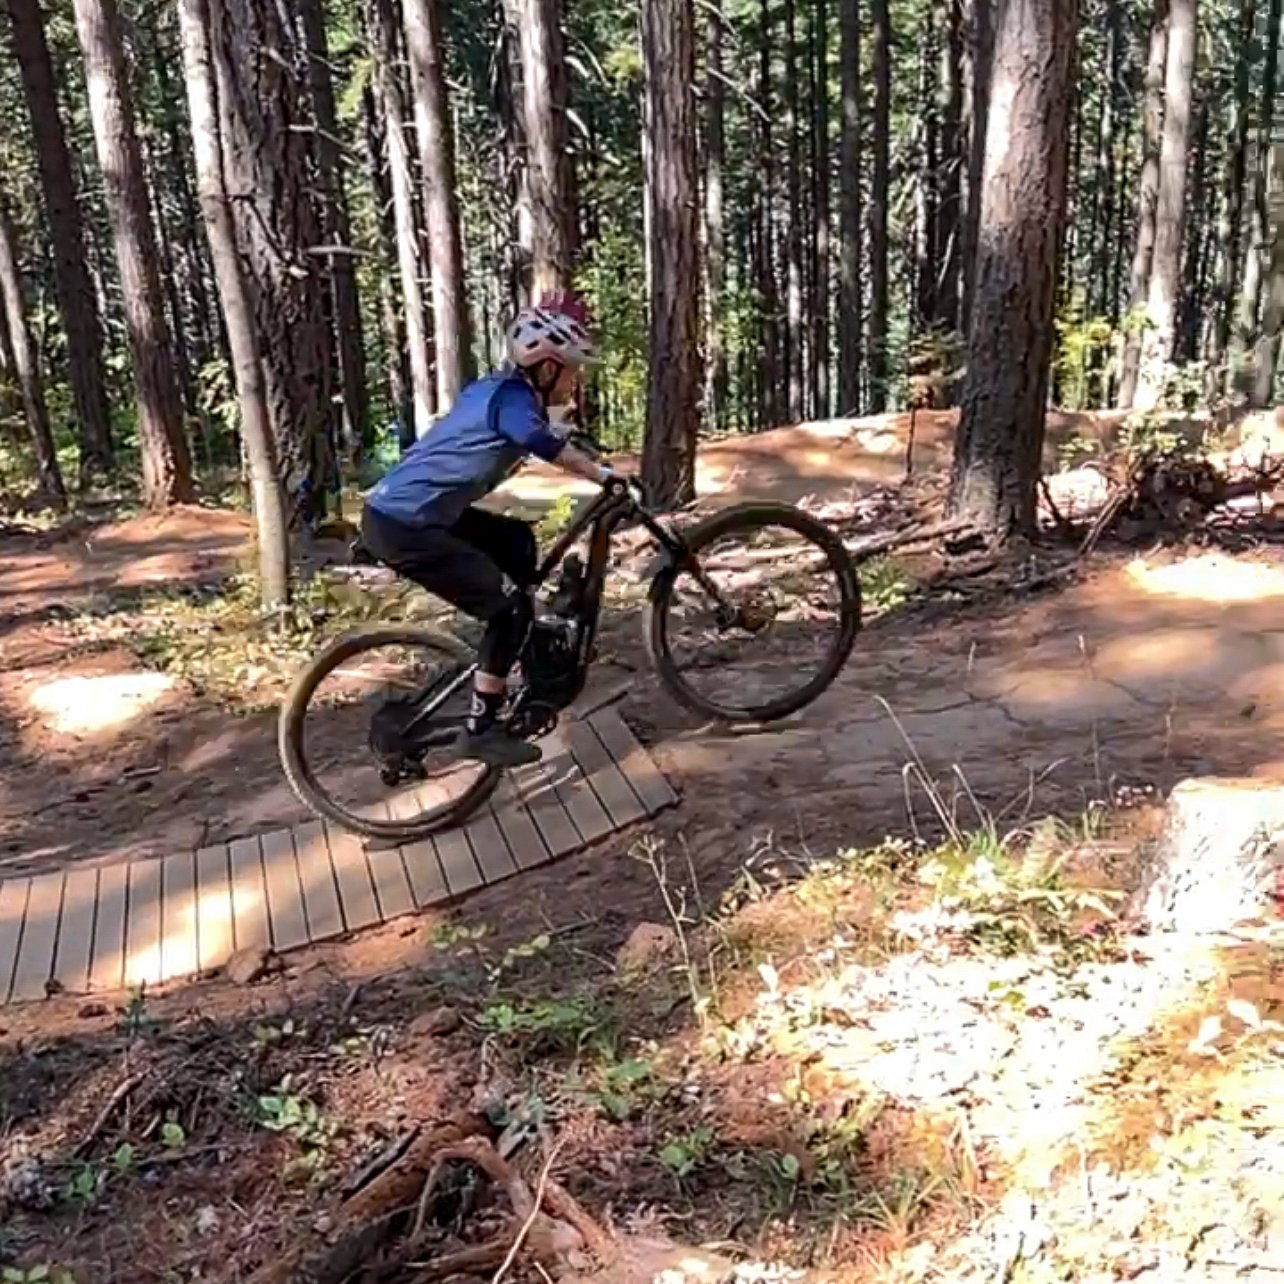
Photo: Nikki Rohan
Jumping did not come naturally to me. I raced at the professional level for 5 years but if I was flying through the air I felt like a squirrel in water - awkward! After an entire summer riding flat pedals, and working on small table top jumps, I finally started to develop the mechanics, timing, and body positioning to feel like a consistent and confident jumper. Now, I absolutely love helping others develop the skill of jumping and I’ve taught hundreds of people to jump over the past seven years. In that time, there are 4 consistent actions I see people take that create undesirable results. Let’s dive in and help you start jumping with more confidence and more fun!
#1: Stop Squashing your jumps
One of the first things I do when I coach a jump clinic is have people jump. Not on the bike, but on your feet! Go ahead and try it. Stand up and jump. Jump Up! Jump high! Notice the movement patterns that occur in your body. You bend at the knees, drive force down through your feet down into the ground, and then…jump UP! If you never fully extend your body upwards, you will never jump very high. A common mistake people make is they stay low and crouched all the way through the jump. I call this “the squash.” It’s like trying to jump but keeping your knees bent the entire time. The fix? Instead of staying low, practice getting high! Some people like the phrase, “stand up to the jump,” or “hump the bars.” Imagine you are trying to jump (on your feet) from the face of the jump to the landing of the jump. Then perform that same movement pattern, but on the bike!
Staying low through the jump prevents your from ever truly jumping up! Instead, stand up to the jump, or, quite literally, JUMP with your body as the bike goes off the lip of the jump.
#2: Stop “popping“ early
Timing is one of the 3 key components to good jumps. A common question is, “when do you ‘pop?’” For clarity, I define “pop” as the moment your entire body springs upwards in anticipation of the jump. I like to work backwards and ‘pop’ as the front wheel is leaving the lip of the jump. It you’re too early, you never get very far off the ground, which is a good strategy if you’re trying to “scrub” or absorb a jump! But if you want to get air, then you need to be patient with your jump. The Fix? Be patient and aim to pop as the front tire is leaving the lip!

Time your “pop” such that your body shoots upwards as your front wheel leaves the lip of the jump!

Jump Tips
Body Positioning:
In the example photo you can see I am holding the bike to allow the athlete to feel where their body should be as they are going off the lip of the jump! Pro tip: keep the upper body relaxed.
Timing:
Aim to be in this “triple extension” position as the front wheel of the bike is leaving the lip of the jump.
#3: Stop leaning back
A lot of people I coach lean back as they go up the face of the jump. Or, they push their body backwards thinking they are pushing the bike forwards. Both create problems as you move your center of mass farther away from the center of mass of the bike.
Let’s go back to the example of you jumping off the ground from your feet, not your bike. There is zero backwards movement. You crouch down and shoot straight up. Do the same thing you do in your body on the bike! The fix? Drive your knees into the face of the jump as your approach.
NOTE: The caveat here is as your jump skills progress, you may start to incorporate different body movements such as a bunny hop into the jump. Which means you will actually lean back as you’re riding up the face of the jump. But when you are starting out, focus on driving your knees forwards, your hips towards the bars and extending your body directly up instead of back!

# 4: Stop Pulling on the Bars
It’s easy to trick ourselves into thinking we are catching more air by pulling the bars up. But have you ever had that in-the-air sideways experience? I used to have it all the time! Yikes! We want to avoid any sort of bar turn or sideways movement in the air (at least until we’ve mastered the basics). As humans we all have muscular imbalances, and when we pull on the bars of the mountain bike, we never pull evenly. Thus, tugging on the bars to get “more air” results in the dreaded bar turn, which often results in landing with the bars turned and we all know how that ends. The fix? Relax! Relax your upper body. Shake out your arms, roll back your shoulders, get loose! Jumping is about timing, and driving down through the hips and feet, then standing up (or jumping) off your feet and driving your hips forwards!

In conclusion, when you first start jumping, set the bike down and just jump. Walk over to a jump, and jump! Jump from the lip to the landing. NOTE: if they are dirt jumps DO NOT stand on the lip, and always be careful of other riders coming down the trail. But think about what you do in your body, before you take it to the bike! It’s really helpful to have a friend film you in slow motion from the side, not straight on. This will allow you to see what your body is doing relative to the jump face. If you’re looking for more jump tips, check out my blog post, better jumps in 3 steps, or better yet, sign up for a jump clinic!
Happy Jumping!
